Choosing bathroom tile is a cornerstone of bathroom design. The right tile protects against moisture, reduces slipping, and defines the room’s look from modern minimal to classic luxe. This guide covers tile types, layout ideas, installation basics, maintenance, and budgeting to help you make a confident, informed decision with trusted professionals.
Understanding bathroom tile basics
Bathrooms demand moisture resistance, washable surfaces, and durable materials. The porosity of the tile and the strength of the grout determine long-term performance. In addition to water exposure, consider slip resistance for floors and easy maintenance for walls behind sinks and showers.
Key material families
Common bathroom tile families include ceramic, porcelain, natural stone, and glass. Each offers a different balance of durability, aesthetics, and care requirements. Ceramic and porcelain tiles are the most versatile for wet zones; natural stone adds warmth and texture; glass reflects light and provides striking accents.
- Ceramic tile: affordable, comfortable to install, beginner-friendly for walls and shower surrounds
- Porcelain tile: denser, less porous, excellent for floors and showers with high moisture exposure
- Natural stone: unique character, requires sealing and more maintenance
- Glass tile: bright, reflective, best as accents or backsplashes
Tile types and pros and cons
| Tile Type | Water Resistance | Durability | Maintenance | Cost | Best For |
| Ceramic | Good | Moderate | Easy | Low | Walls, backsplash |
| Porcelain | Excellent | High | Moderate | Medium | Floors and showers |
| Natural Stone | Variable | Moderate-High | High maintenance | High | Bathrooms with character |
| Glass | Excellent | High | Low to Moderate | Medium-High | Accent walls and backsplashes |
Size, layout and pattern planning
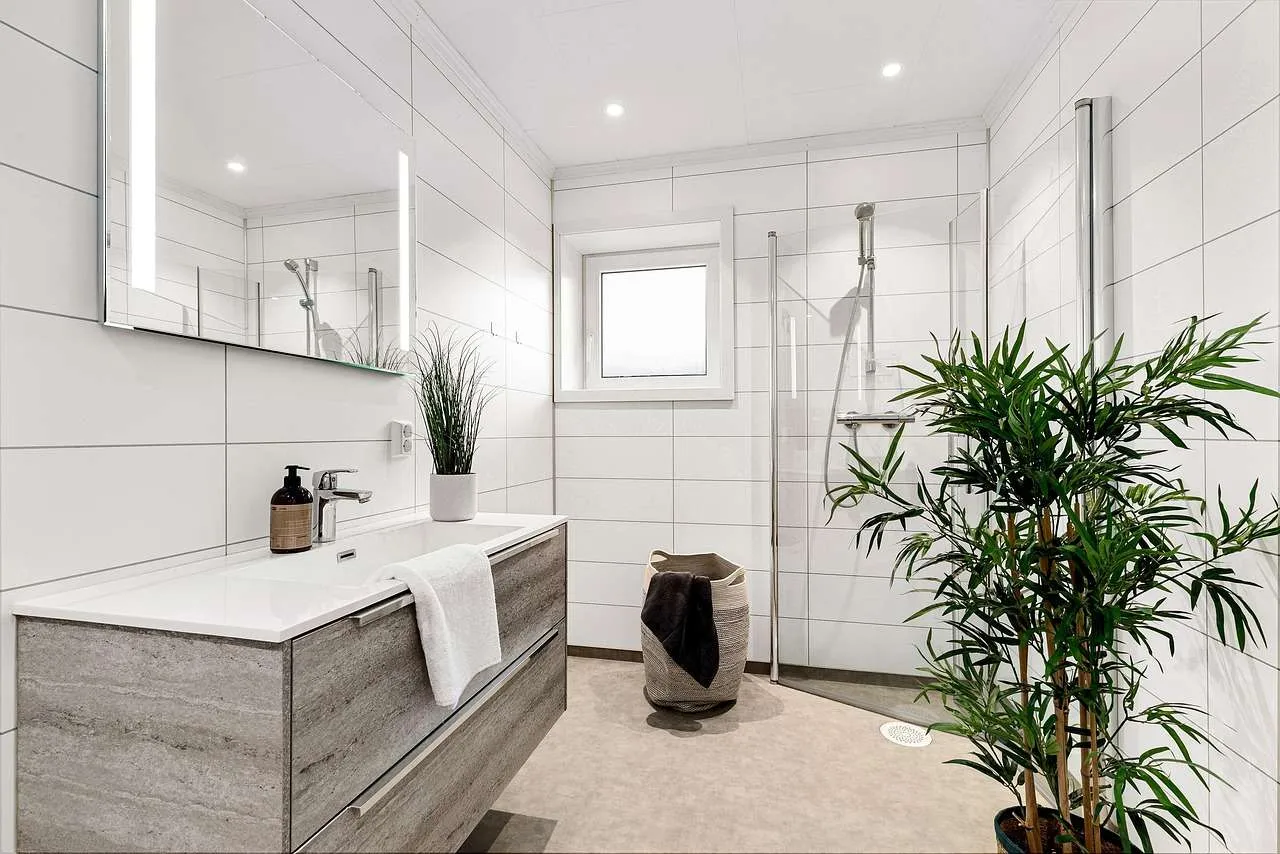
Tile size and layout influence perceived space and maintenance. Large format tiles (12x24, 24x24) reduce grout lines and can make small bathrooms feel bigger, while subway or mosaic patterns add visual interest. Consider the following tips:
- Select a grout color that either blends with the tile for a seamless look or contrasts for a bold statement.
- For floors, ensure slip resistance by choosing textured finishes and proper slope toward drains.
- Use large format tiles on walls sparingly in showers to minimize grout lines and cleaning effort.
- Plan transitions between different areas with cohesive color palettes to maintain flow.
Preparation and installation essentials
Proper installation is critical to moisture management and tile longevity. Key steps include substrate preparation, waterproofing, and appropriate thinset selection. All bathrooms should have a solid backing board, waterproof membranes where required, and a well-planned drain and slope in wet areas. While DIY can work for small projects, complexity in showers and spray zones often benefits from a licensed installer.
- Use cement backer board or an approved waterproofing system behind tile in wet zones.
- Choose a polymer-modified thin-set mortar suitable for porcelain or stone installations.
- Seal grout when recommended by the product line, and reseal as directed to prevent staining and moisture ingress.
- Ventilate and protect work areas to prevent moisture buildup during curing.
Maintenance and cleaning
Routine care preserves color and grout integrity. Porcelain and ceramic are forgiving, but grout lines can stain. A routine schedule includes daily wiping of walls, periodic grout sealing if the grout is unsealed, and annual deep-cleaning to remove soap scum and mineral deposits. Avoid acidic cleaners on natural stone and ensure products are labeled safe for your tile type.
Design trends and color palettes
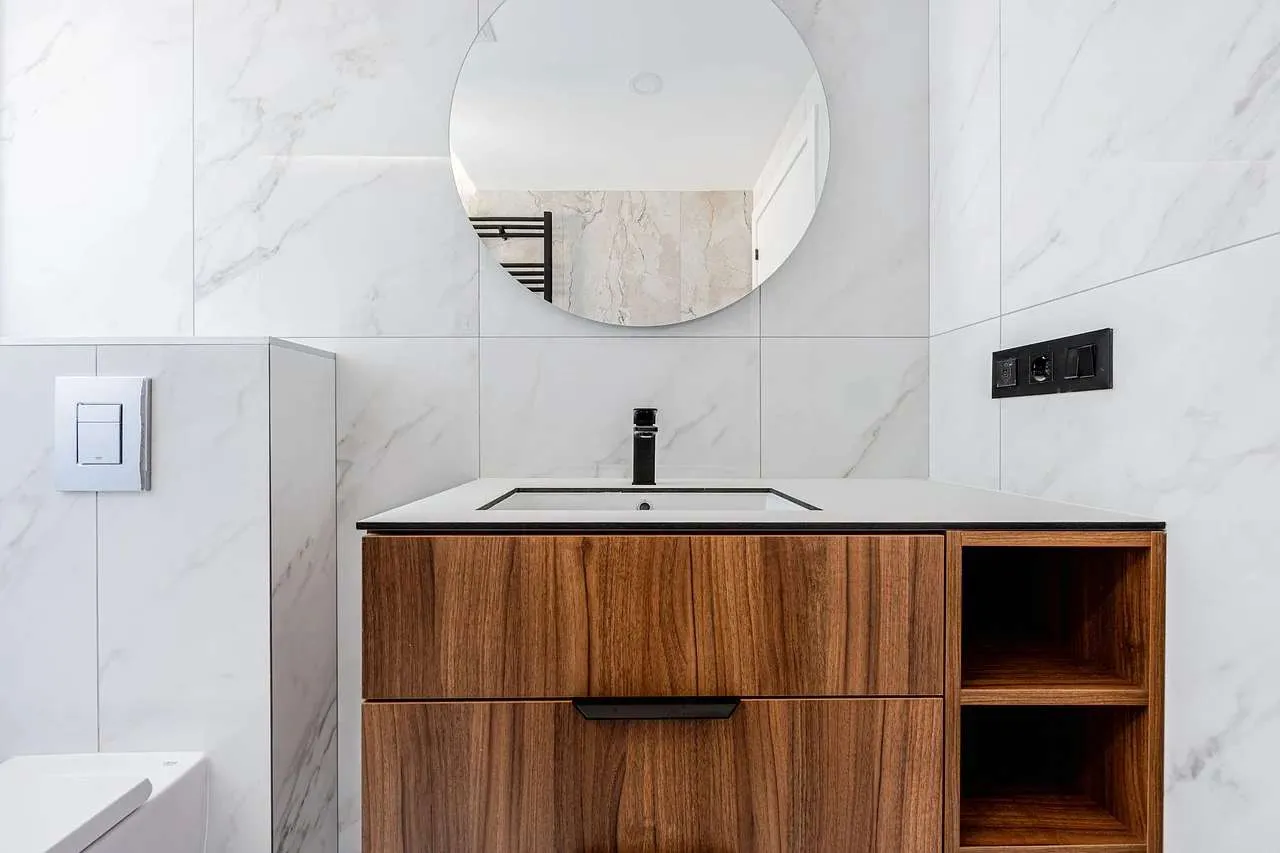
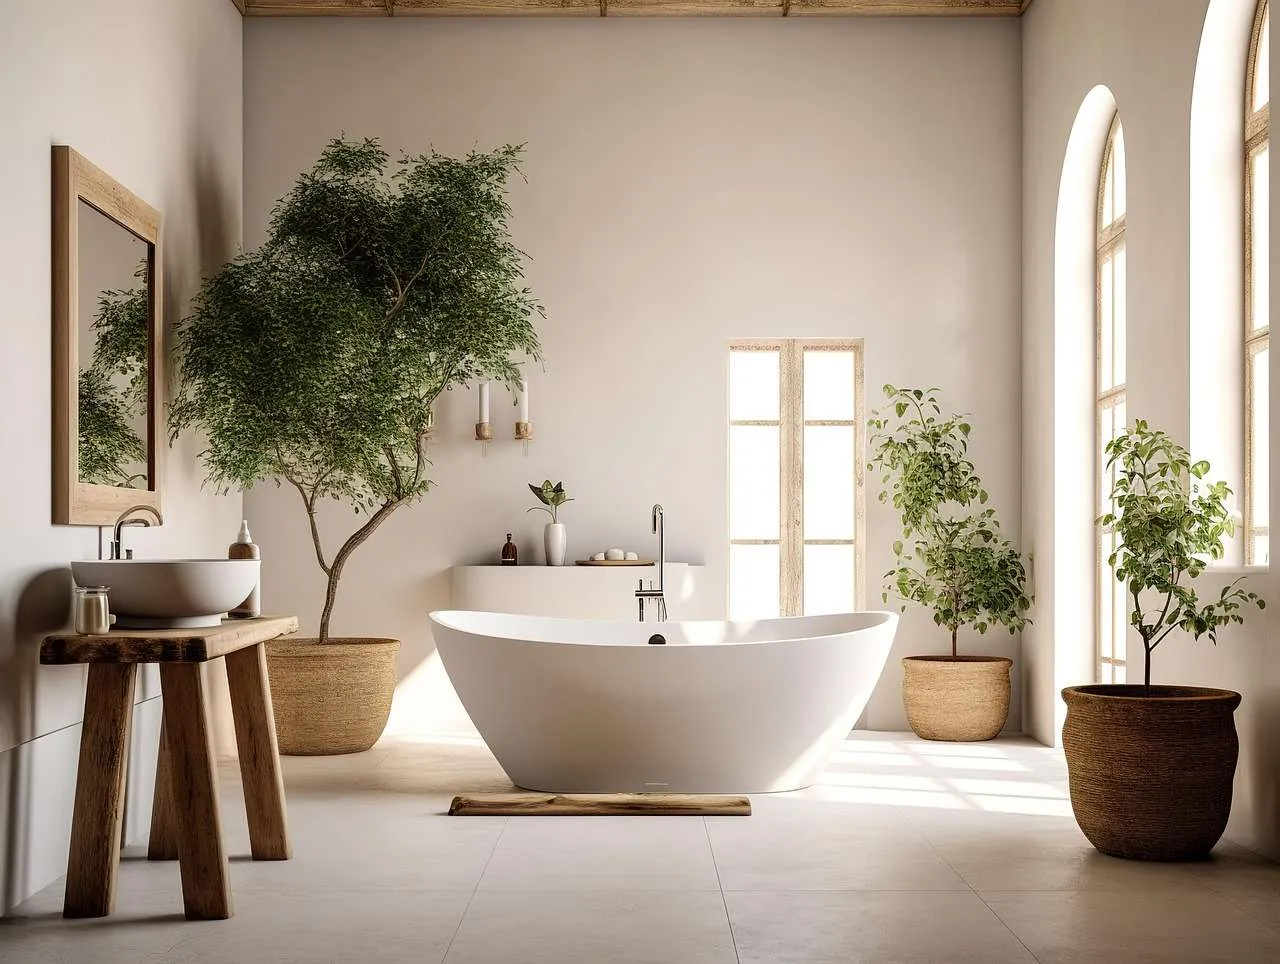
Recent trends favor neutral palettes, matte finishes, and large formats to create calm, spa-like bathrooms. Wood-look porcelain offers warmth with easy maintenance, while glass mosaics add sparkle as backsplashes or shower niches. For durability and timeless appeal, blend large neutral tiles with subtle accent trims or small-format mosaics in shower niches or borders.
Cost and budgeting
Costs vary by tile type, size, pattern, and labor. A typical installed bathroom tile project ranges from moderate to premium. Ceramic and porcelain tiles often cost less per square foot than natural stone, while installation can add significantly to total price, especially in complex showers. Budget for backer boards, waterproofing, grout, sealant, and waste disposal in addition to tile itself. Getting multiple quotes from licensed contractors helps ensure fair pricing and a reliable warranty.
Choosing a pro and building trust (EEAT)
To align with expertise, authoritativeness, and trustworthiness, verify the installer or contractor is licensed and insured, requests references, and shares a portfolio of completed bathrooms. Look for affiliations with professional groups such as NTCA or local certifications, a written warranty, clear timelines, and a transparent breakdown of materials and labor. Ask for before and after photos and client references to confirm consistent quality and reliability.
- Check licenses, insurance, and local requirements.
- Ask for sample projects and client references.
- Request a written warranty covering installation and moisture protection.
- Review product data sheets for tile, adhesive, and grout compatibility.
Conclusion
Bathroom tile choice combines moisture performance, durability, and design. By understanding tile types, planning layouts, investing in proper installation, and partnering with a reputable professional, you can achieve a durable, beautiful bathroom that remains timeless while accommodating future updates.
Summary: This guide covered key tile families, pros and cons, layout planning, installation essentials, maintenance practices, design trends, budgeting tips, and how to select trustworthy pros to ensure a durable and elegant bathroom space.